

There’s a moment every collector remembers: you press play on a 30-year-old Walkman and the cassette wheel turns for the first time in decades. Restoring a vintage Walkman isn’t just fixing a machine — it’s bringing a piece of music history back to life.
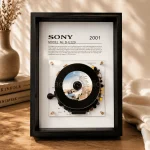
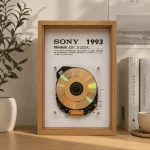
If you would rather buy one already restored, the Sony Walkman WM-EX610 Cassette Frame is restored, tested, and ready to play.
Whether you’ve found a dusty player at a flea market or inherited one from family, this guide walks through the restoration process we use in our studio, so you know exactly what goes into a properly restored player.
What You’ll Need
Most cassette players from the 80s and 90s share the same failure points, and the toolkit is small:
- A set of precision screwdrivers (JIS and Phillips)
- New drive belts matched to your model
- Isopropyl alcohol and cotton swabs for cleaning heads and pinch rollers
- Light synthetic grease for gears and linkages
- Patience — the good stuff takes time
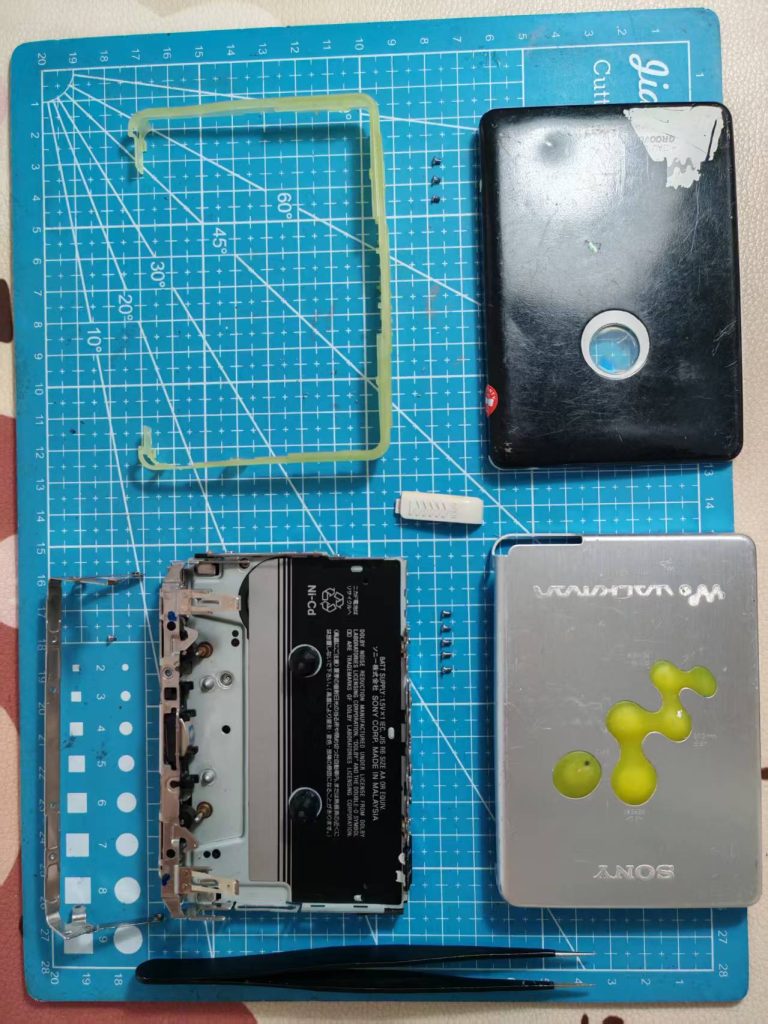
The Restoration Process, Step by Step
1. Open the shell carefully
Original plastic shells are often brittle after decades. Work slowly, keep screws organized, and never force a latch. The condition of the shell is a huge part of a player’s value — that’s one reason we keep the honest signs of age on the pieces we frame.
2. Replace the belts
The most common cause of a “dead” Walkman is a melted or stretched belt. Replace it with a correctly sized new belt and the mechanism usually wakes right up.
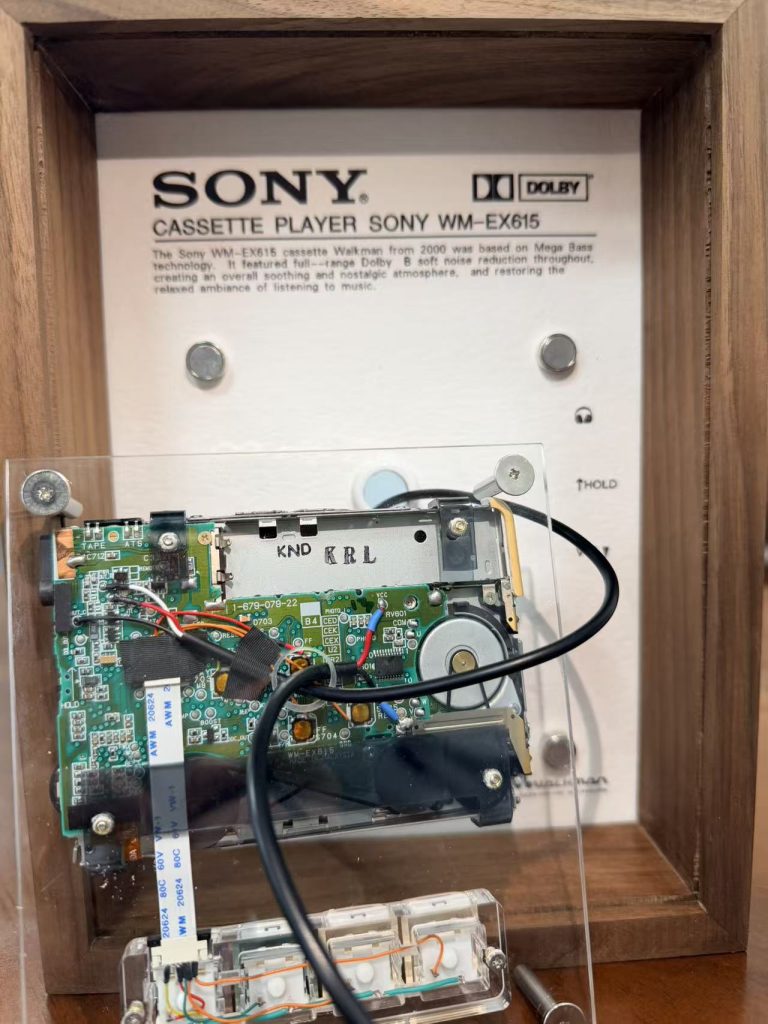
3. Clean the tape path
Heads, pinch rollers, and capstans collect oxide and dust. A careful clean with isopropyl alcohol restores sound quality dramatically.
4. Service the mechanism
Gears and linkages should move freely. Clean old grease, apply fresh lubricant sparingly, and check the auto-reverse and play/pause functions.
5. Test, test, test
A restored player is only as good as its final test. Play a cassette end to end, check both sides, and confirm the speed is stable.
When to Leave It to the Pros
If the motor, solder joints, or radio sections need work, that’s where restoration stops being a weekend project. That’s also where the risk of damaging a rare model starts to climb.
In our studio, every unit gets a full teardown, new belts, deep cleaning, and hours of test-play before it earns a frame. If you’d rather skip the workbench and get a player that’s already perfect, browse our restored and framed collection — like the slim Sony Walkman WM-EX1 or the dependable WM-EX610, both fully playable and ready to hang.
Related reading
- How to Care for Your Vintage Walkman: 10 Tips to Keep It Playing for Decades — Once it plays again, this is the maintenance routine that keeps it that way.
- Why Restored Vintage Audio Is Worth It: What to Look For — What a proper restoration actually involves — and what to check before you buy someone else's.
- Where to Buy Vintage Walkmans and Discmans: A Buyer’s Guide — Where to find candidates in the first place, and how to avoid an unrepairable one.
[…] How to Restore a Vintage Walkman: A Beginner’s Guide — What restoration involves, step by step, if you would rather do it yourself. […]